

I’ve been doing a lot of prop-building lately—for example, crafting dragon eggs. Since prop-building is such an important part of my writing process, it’s something I like to bring to my students as well.
Getting away from the screen
One of the great things about prop-building is that it allows me to work on my book without staring at the screen. Let’s face it: Writing is hard and often exhausting. Sometimes, I feel like I have no words left in my brain, but I still have the desire to playin my world.
I’ve found that prop-building is a way to accomplish that. Working with tangible objects, working with my hands, has helped me to sort out plot problems. It’s kind of like doing the dishes and being suddenly struck by a eureka moment. Of course, when you wash dishes, all you get is clean dishes. When you build a prop, you get a tangible item from an imaginary world.
Nightmare Bottles
I’ve been working with a group of tween and teen writers this spring and one of the things I’ve tried to do is bring in the prop-building angle.
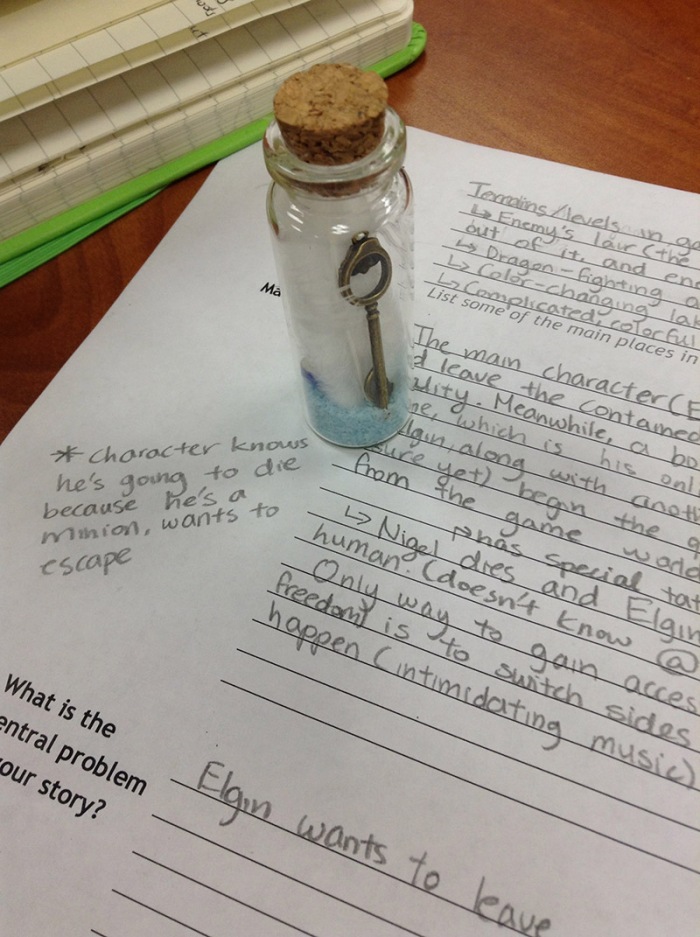
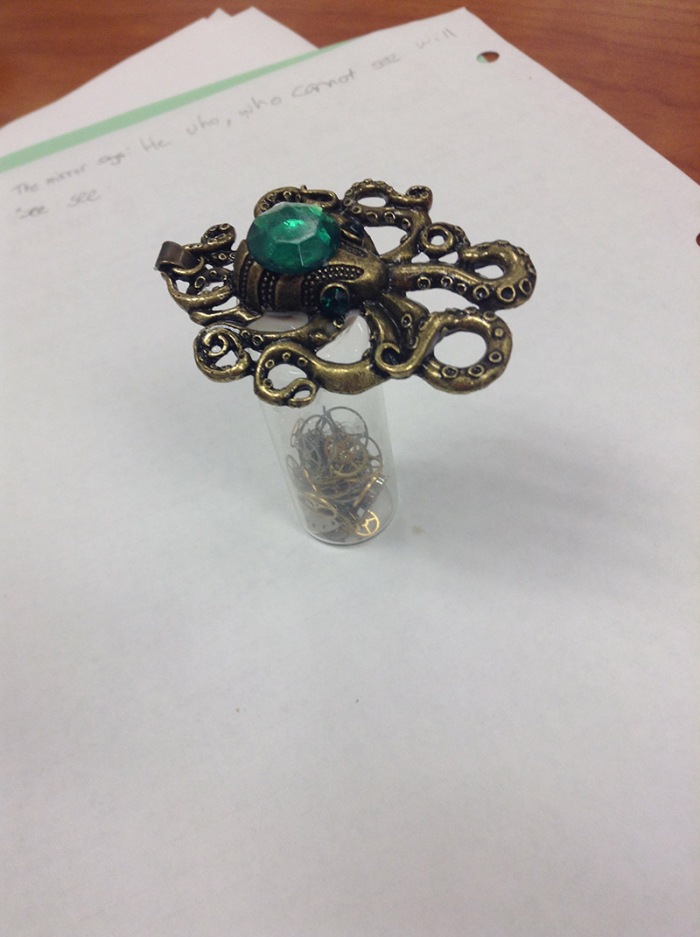
One of our first projects was to build “nightmare bottles.” This involves creating a character and metaphorically putting their fears in a bottle. Of course, this could provide fuel for a story in its own right, but the main purpose here was just to coax the kids into some brainstorming time.
Here’s some of their creations . . .


Character Kits
The main prop-building project I introduced this term was to create a personal kit for each character. This could also be metaphorical or could actually appear in the students’ stories. I’m big on inventing interesting “tools” for my characters and, especially if you are writing a fantasy book, I think you have a lot of opportunities to add extra sizzle to your story.
For this project, the students get to decorate and paint the kits themselves, then fill them with a variety of mini-props that fit their specific characters’ journeys.


This project has also tasked my students with a different approach to creativity. I’ve been trying to make sure they solve some of the problems they face.For example, one of my students wanted to build a spy kit with a gun. I looked around for toy guns and felt the creativity being sapped right out of me. I decided we could do something more original and unique. So, instead of buying a pre-made toy pistol, I bought tiny water guns and told the student to use it as a base for building something more unique.
He took one look at the brightly colored water guns and scoffed. I couldn’t convince him what a little paint a few cannibalized odds and ends could do. There was nothing I could do to change his mind, so I went home and built my own gun.

Admittedly, my gadget turned out part steampunk, part alien ray gun, but I hope I’ve made my point! And, now, I have something more unique and interesting that I can use—yep, I decided this can belong to a character who’s currently running around causing havoc in one of my own stories.
That’s the power of prop-building!


